Table of Contents
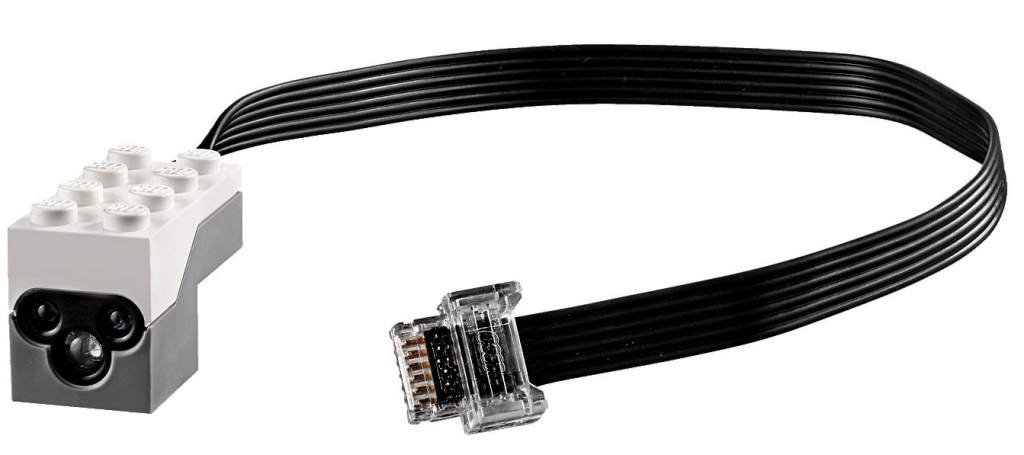
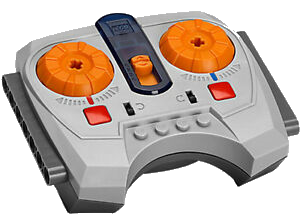
The current version of the Lego Powered Up app (I’m currently using V3.2.0 but the version before this one should work as well as I updated yesterday) has the possibility to use the Color and Distance sensor brick to sent IR commands just like the Lego Power Functions remote control does.

This functionality is somewhat hidden and hopefully Lego will make it more accessible in the future but it works.
Set de Mode of the sensor
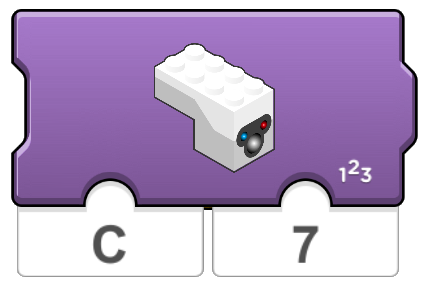
The Color and Distance sensor needs to know that it should be in IR mode. This is done by setting mode 7 in this block:

In this case the Color and Distance sensor is connected to port C of my son’s Lego Boost movehub and it is set to IR mode which is mode 7.
Send IR commands
Before we can sent the commands we need to understand how they are build up.
Lego has released this document LEGO_Power_Functions_RC_v120.pdf with more info about how the Power Function IR signals are build up.
In this example I will focus on the so called Combo PWM mode which emulates the Power Functions train remote control:

As shown on page 10 of the LEGO_Power_Functions_RC_v120.pdf document the signal consists out of three 4 bit nibbles:

Nibble 1: set address and mode
- Address – in this case the address is always 0;
- Escape – depending on the desired mode it is either 0 (normal mode) or 1 (pwm mode). Because we want to be able to control the motorspeed we use pwm mode.
- Channel – the IR receiver has 4 channels. Channel 1 to 4 on the receiver are 0 to 3 in binary in this nibble (0=00, 1=01, 2=10 and 3=11). In my case channel 1 on the receiver which is 0 in the nibble and 0 in binary is 00.
Let’s evaluate our situation: 0 1 00 which is 0b0100 (the 0b tells us this is a binary number) in binary and now we convert that binary number to a hexadecimal number which gives us 0x4 (the 0x tells us it is a hexadecimal number).
Nibble 2 and 3: set motor BLUE and RED
The second and third nibble are used to set the desired motor speed:
| Function | Hex value | Binary value |
|---|---|---|
| Float | 0x0 | 0000 |
| Forward 1 | 0x1 | 0001 |
| Forward 2 | 0x2 | 0010 |
| Forward 3 | 0x3 | 0011 |
| Forward 4 | 0x4 | 0100 |
| Forward 5 | 0x5 | 0101 |
| Forward 6 | 0x6 | 0110 |
| Forward 7 | 0x7 | 0111 |
| Brake then float | 0x8 | 1000 |
| Reverse 7 | 0x9 | 1001 |
| Reverse 6 | 0xA | 1010 |
| Reverse 5 | 0xB | 1011 |
| Reverse 4 | 0xC | 1100 |
| Reverse 3 | 0xD | 1101 |
| Reverse 2 | 0xE | 1110 |
| Reverse 1 | 0xF | 1111 |
Send Command
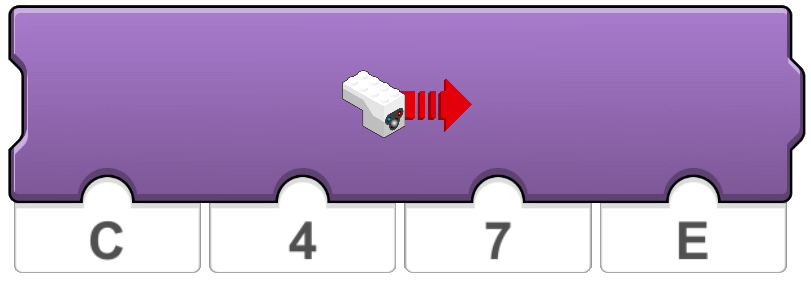
To make the BLUE motor rotate forward at full speed while the RED motor rotates reverse as a low speed (reverse 2 for example) we need to set the block as follows:

The C tells on which port of the Move Hub the Color and Distance sensor is connected and the 4, 7 and E are respectively nibble 1, 2 and 3.